Search "pour-over setup" and you will find counters full of kettles, scales, grinders, thermometers and stands. It looks like you need all of it on day one. You do not. A good first cup needs four things, and most kitchens already have two of them.
The 4 things you actually need
- A dripper. The cone that holds the filter and coffee. This is the one piece worth choosing with care, because it is the one you will use every morning.
- Paper filters that fit it. Cone filters are sized by number (such as #1, #2 or #4). Check which size your dripper takes before you buy a box. Most grocery stores carry them. Our cone filter size guide explains the numbers and a quick fit test.
- Something to brew into. Your favorite mug works for one cup. For two cups, a glass server is easier.
- Coffee and a way to measure it. A level tablespoon is fine to start: about 2½–3 per 8 oz mug. See how much coffee to use per cup for every mug size.
Plus a kettle, which almost everyone already has. That is the whole starter setup.
Choosing your first dripper
Drippers come in plastic, metal, glass and ceramic, and all of them brew good coffee. The two most beginners choose between are ceramic and glass:
| Ceramic | Glass | |
|---|---|---|
| Heat | Holds heat well once warmed; preheat it first | Shows you everything: the bloom, the bed, the draw-down |
| Feel | Heavier, calm, stays steady on the mug | Light and see-through |
| Care | Breakable; hand wash, avoid sudden temperature shocks | Fragile; hand wash, avoid sudden temperature shocks |
| Good for | A slow morning ritual, a dripper you leave out on the counter | Learning by watching what the coffee does |
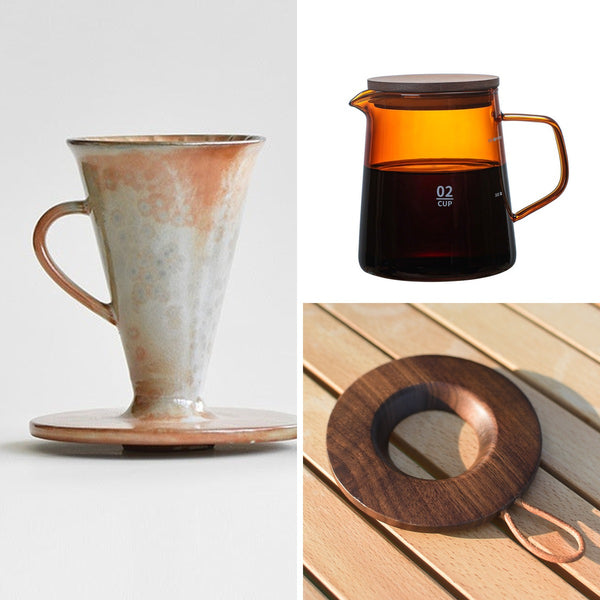
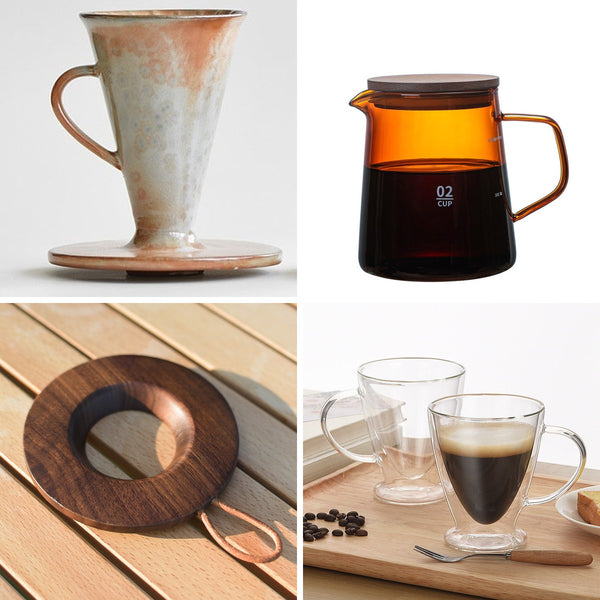
Our rustic ceramic dripper has a single opening at the bottom and its own round, flat base, so it sits right on a mug or server. Our smoke glass spiral dripper is sized for 2–4 servings and is a plain cone with no base, so it rests on a server or a dripper stand. New to ceramic? Our guide to using a ceramic pour-over dripper walks through the first brew.
What to add later (when you are ready)
After a week or two of brewing, you will know what bothers you. Add tools to fix that, not before:
- A small scale, if your cup is good some mornings and off on others. It takes the guesswork out of the dose. Our pocket coffee scale weighs up to 300 g, which covers the coffee for any brew. Not ready for one? See pour-over without a scale.
- A hand grinder, if pre-ground coffee tastes flat to you. Freshly ground beans make the biggest single jump in flavor, and an adjustable grinder like our ceramic-burr hand grinder lets you fix sour or bitter cups by changing the grind. Our grind size guide shows the texture to aim for.
- A glass server with lines, if you often brew for two. You can brew straight to the line instead of measuring water. Our clear glass server has lines at 150, 300, 450 and 600 ml.
- A dripper stand, if you use a dripper with no base or want a tidier counter. Our walnut-tone dripper stand rests on your mug or server and hangs up by its leather loop when you are done.
What you can skip at the start
- A gooseneck kettle. It makes a slow, steady pour easier, but any kettle works if you pour gently in small circles.
- A thermometer. Boil the water, then let it sit about 30 seconds. That lands around 195–205°F (90–96°C). More in pour-over water temperature.
- Special water, fancy timers and apps. Your phone's timer is enough, and tap water that tastes good to drink is fine to brew with.
- A second dripper. Learn one well first. One dripper can brew one or two cups.
Three starter setups
| Setup | What is in it | Best for |
|---|---|---|
| Just start | Dripper, cone filters, your mug, a tablespoon, your kettle | Trying pour-over without buying much |
| Every morning | The above + a small scale + a hand grinder | A cup that tastes the same every day |
| Slow ritual for two | Ceramic dripper + amber glass server + dripper stand, plus filters and a scale when you want them | Weekend mornings, brewing for two, a setup that lives on the counter |
If the third one sounds like you, the Slow Pour Ritual Set puts our ceramic dripper, the amber glass server with wood lid (lines at about 300 and 500 ml) and the walnut-tone stand in one order, with 10% off at checkout. Filters and coffee are not included. Buying for someone else? See our pour-over coffee gift ideas.
Your first brew in 5 steps
- Fold the filter, set it in the dripper on your mug, and rinse it with hot water. Pour the rinse water out.
- Add 15 g of medium-ground coffee (about 2½–3 level tablespoons).
- Pour about 30 g of water to wet the grounds. Wait 30–45 seconds while they bloom.
- Pour the rest slowly in small circles, in two or three stages, up to about 240 g (8 oz) in total.
- Let it drain. One mug should finish in roughly 2½–3½ minutes.
Want stronger or lighter? Our pour-over ratio chart has the amounts for 1 to 4 cups at three strengths.
Beginner mistakes that are easy to avoid
- Buying everything at once. You end up with tools you do not use. Start small and add what your cup asks for.
- The wrong filter size. Too small and it collapses; too big and it folds over and slows the drain.
- Grinding too fine. Pour-over wants medium, about like coarse sand. Very fine grounds clog the filter and taste bitter.
- Changing three things at once. Adjust one thing per brew so you know what helped.
The full list, with a symptom chart, is in common pour-over mistakes and how to fix them.
Common questions
What is the easiest pour-over for a beginner?
A cone dripper with a flat base that sits on your mug, used with paper filters. There is nothing to assemble, and cleanup is just tossing the filter and rinsing the cone.
Do I need a grinder to start?
No. Pre-ground coffee labeled for drip or pour-over is fine for your first weeks. A grinder is the best upgrade later.
Is pour-over better than a drip machine?
It gives you more control over strength and taste, and it takes a few minutes of your attention. See pour-over vs drip coffee maker for a side-by-side.
Start with one cup tomorrow
Pick a dripper, buy filters that fit it, and use the mug and kettle you already have. Brew one cup tomorrow, taste it, and let the next tool be the one that fixes what you noticed.
Let it drip.
— Tran Vu Doan, Phin & Clay